With the Trax Editing done, we exported all the frames and put them together in Sony Vegas. This allowed us control over the editing more efficently than rendering out an animation directly from Maya.
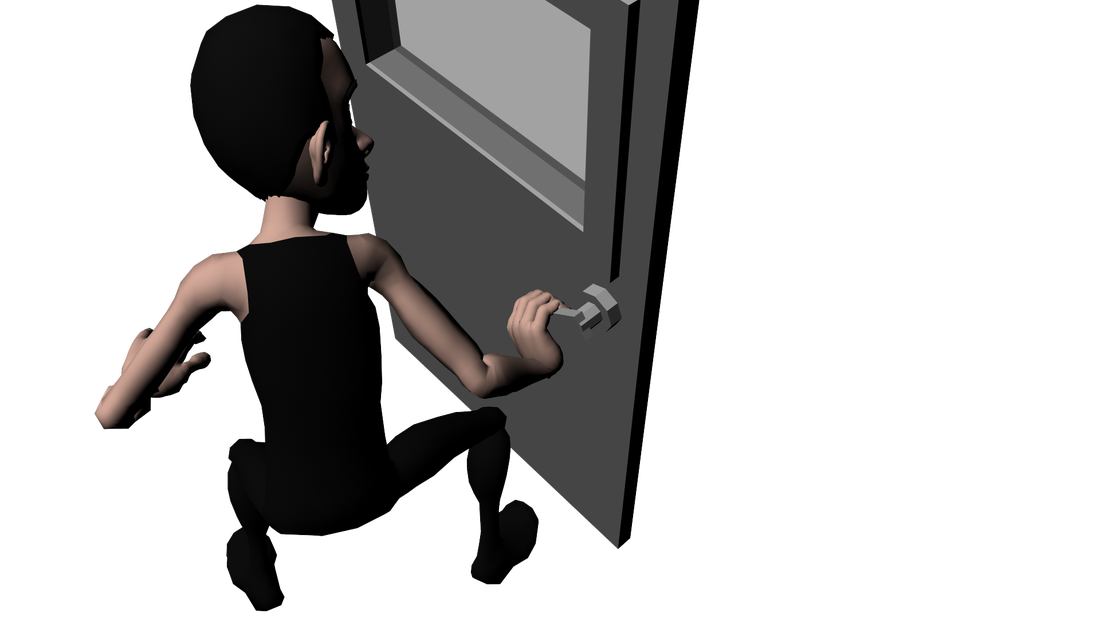
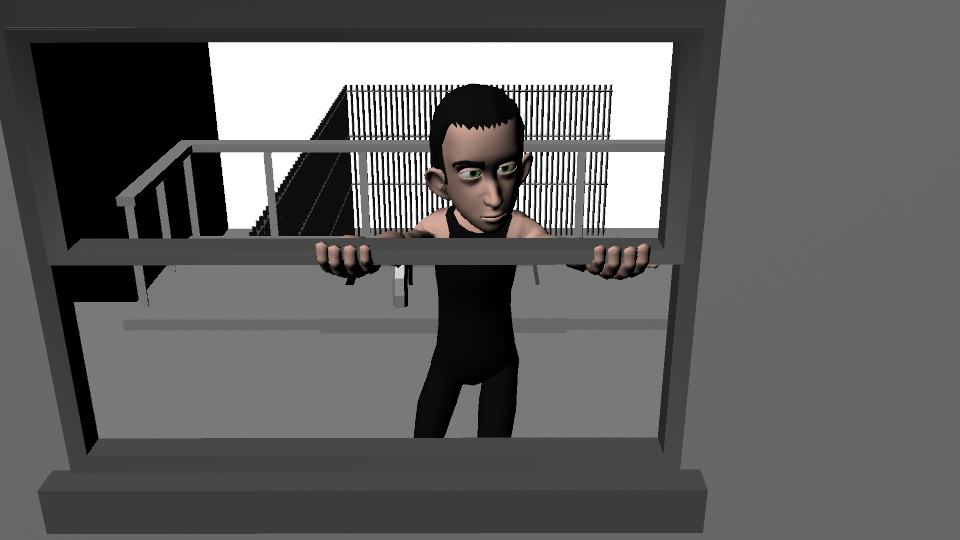
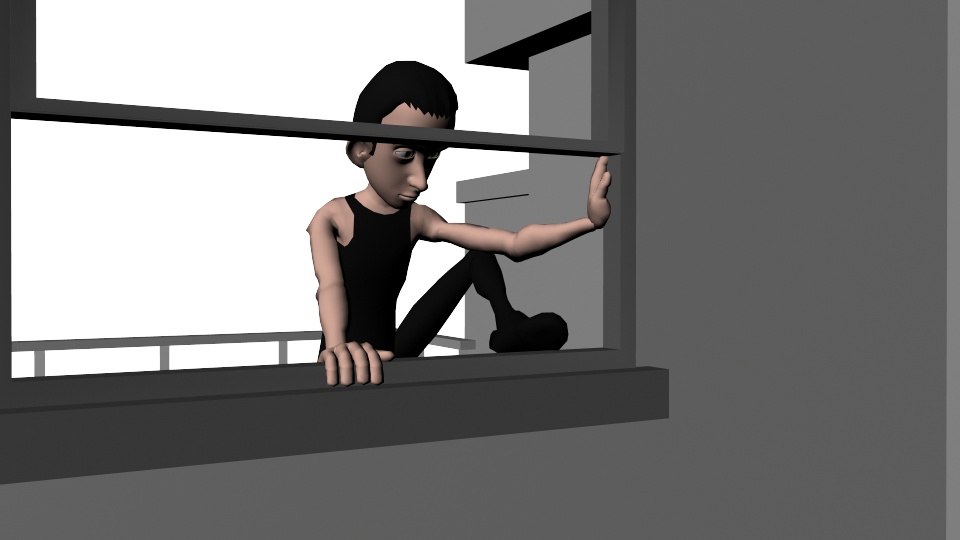
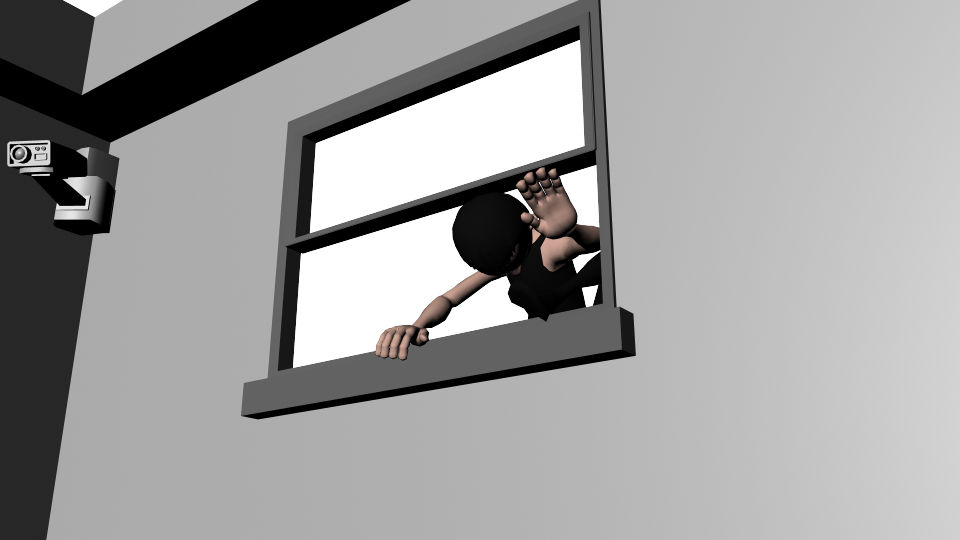
When we rendered the animation, we were really surprised by how well the animation had gone. The story comes through nicely with the use of a guard to sell the idea of him being a thief. Also the security camera feed was some post editing that we believe added a little flair to the animation.
When we rendered the animation, we were really surprised by how well the animation had gone. The story comes through nicely with the use of a guard to sell the idea of him being a thief. Also the security camera feed was some post editing that we believe added a little flair to the animation.
We rendered the animation using Sony Vegas in order to gain more control over rendering a video directly from Maya. At this stage we were happy with the overall animation however the brief stated that we should have dialogue for each member. Due to the size of our group (4 people) and only having 2 characters, dialogue seemed inefficient to do and instead we opted for sound effects such as grunts and groans. We believe that this didn't aid the original animation and opted to stick with the no dialogue animation.


 RSS Feed
